This blog covers in details along with example of how to share google drive access automatically using app scripts
Bulk Share Google Drive File Access Automatically using Google Apps Script
In one of the recent interactions with some clients, we were pointed out a problem that talked about bulk sharing Google Drive files. The files could be anything, such as Google Sheets, Google Docs, etc with different types of permissions.
Using Google Apps Script and the Drive App, we developed a solution that will allow you to bulk share documents with users with different permissions such as Editor, Commenter or Viewer.
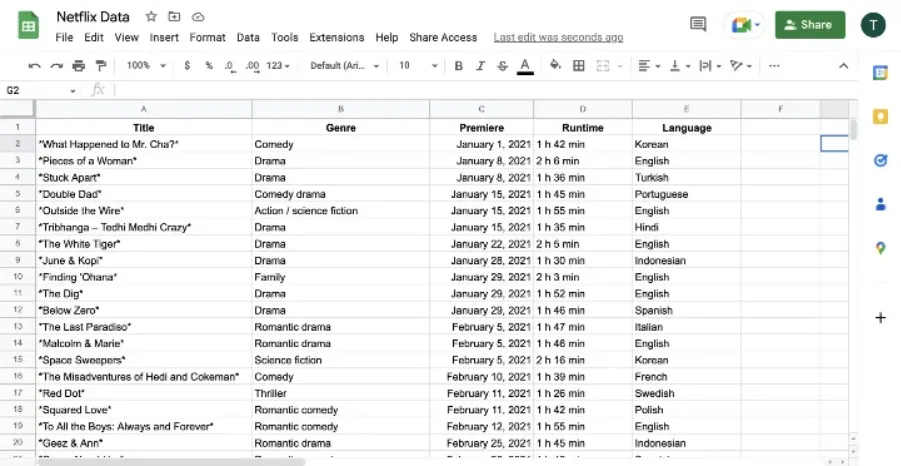
For this blog, we are going to be using two Google Sheets. The first Google Sheets contains Netflix Data that has been imported using the IMPORTHTML formula. The second sheet contains the list of employees with details such as email address and company role.
If you want to know how the IMPORTHTML formula works, check out the link given below.
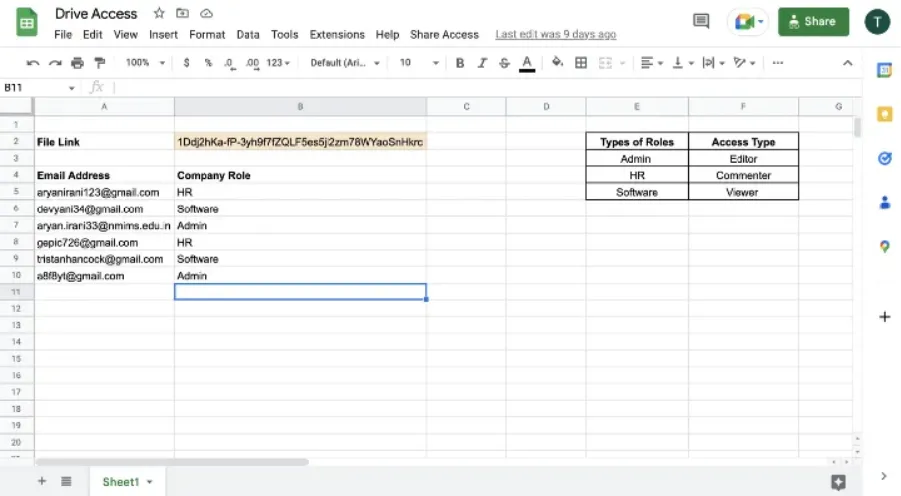
This Google Sheet contains the following details:
- Link to the Google Sheet to be shared with employees (Netflix Data)
- Email addresses of the employees
- Company role of the employee
- Types of access to be given based on company role
Using Google Apps Script and the Google Drive App, we are going to be sharing custom access to the employees.
Step1: Write the Automation Script
While you are in the Google Sheet, let’s open up the Script Editor to write some Google Apps Script. To open the Script Editor, follow these steps:
1. Click on Extensions and open the Script Editor.
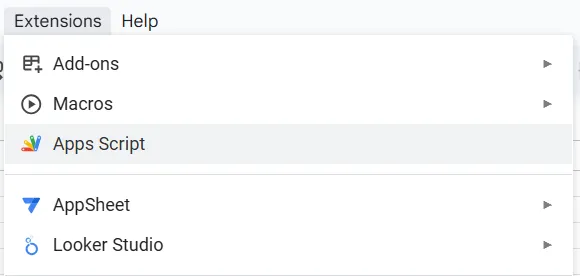
2. This brings up the Script Editor as shown below.
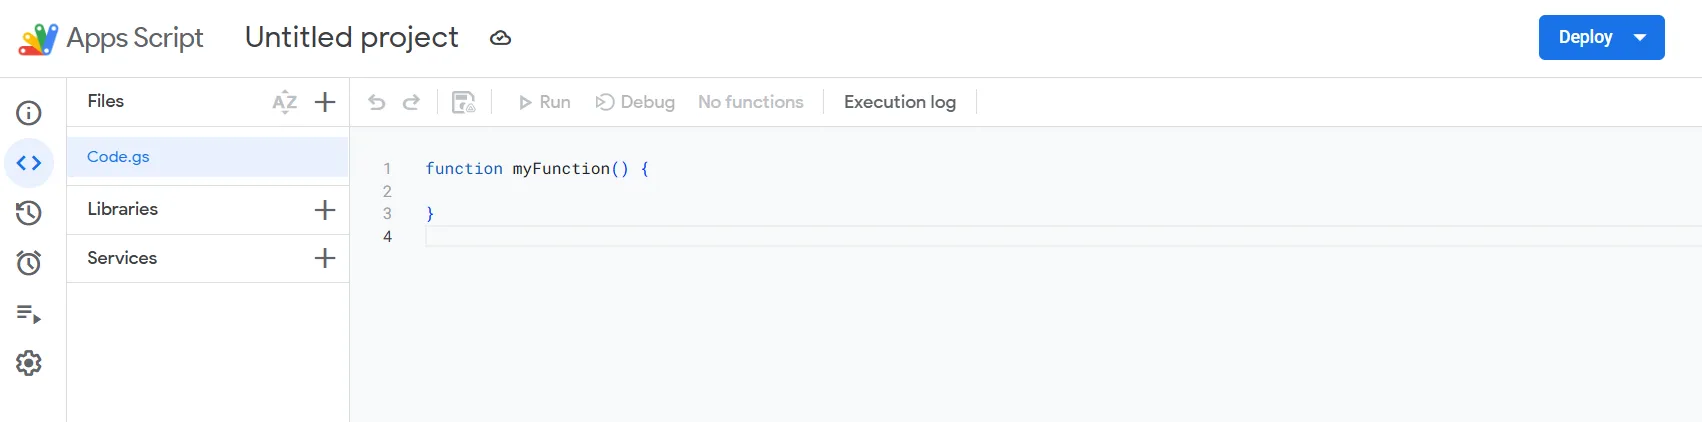
We have reached the script editor, let's code.
var ROW = 2;
var COL = 2;
var ROW_NUM = 5
var COL_NUM = 1;
We are going to start off by declaring some variables that we need to access the data inside the sheet.
function giveAccess(){
const ss = SpreadsheetApp.getActiveSpreadsheet();
const sheet = ss.getSheetByName("Sheet1");
const id = sheet.getRange(ROW,COL).getValue();
//Logger.log(id);
Here we have started out by creating a new function, giveAccess(), inside which we will be accessing the Google Sheet using the SpreadsheetApp. After which, we will be getting the sheet by name using the getSheetByName() function, inside which we will pass the name of the sheet that contains the ID of the target sheet and the details of the employees.

Next, we will access the Google Sheet ID that is inside the Google Sheet. To do this, we will be using the getRange() function inside which we will be passing the variables that we previously declared. After this, we just run a Logger.log to check if the link is correct.
On running the code you will see the following output.
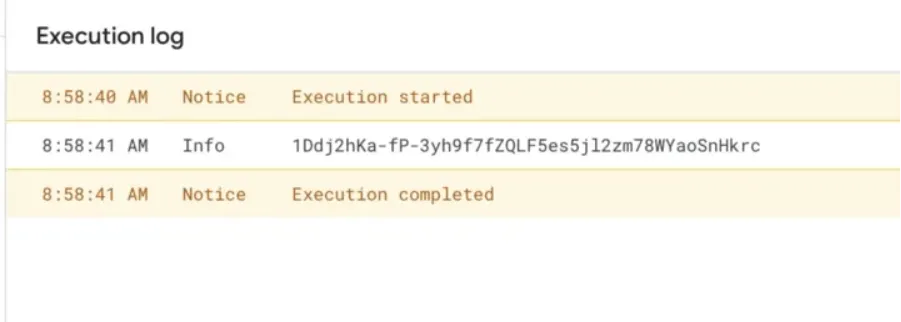
Here we have successfully got the id of the target sheet that needs to be shared with the employees.
const range = sheet.getRange(ROW_NUM,COL_NUM,sheet.getLastRow(),2);
const data = range.getValues();
//Logger.log(data)
Now that we have got the ID of the sheet to be shared, its time to get the emails and company roles of the employees. To do this we will be using the getRange() function inside which we will be passing the variables that we declared previously. On getting the range, we will be using the getValues() function to get the values and store it inside the data variable.After this we just run a Logger.log to check if the link is correct.

Here we have successfully got all the data that is required to share the files with the employees.
const file = DriveApp.getFileById(id);
const type = file.getMimeType();
//Logger.log(type);
//Logger.log("Success");
To share files we need to first access them. To do that we are going to use the DriveApp.getFileById(), inside which we will be passing the ID variable as a parameter. After getting the file, just to be sure we have got the correct file, we are going to execute getMimeType() function which will get the file type of the file. On running the code, you will see something like this.
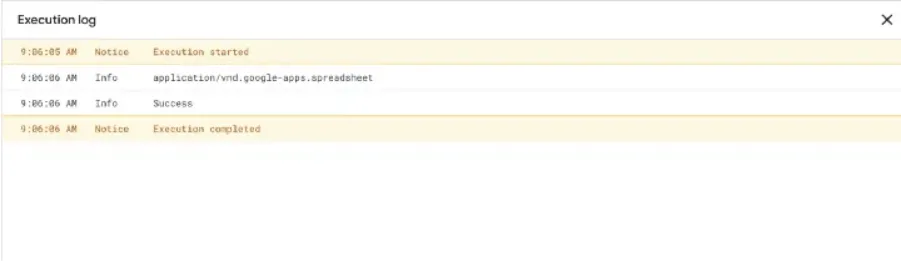
Here you can see the type of file is spreadsheet, which tells us that we have got the correct file.
3 departments: Admin, HR, Software
Admin = Editor Access
HR = Commentor Access
Software = Viewer Access
There are currently three departments in the company. Each department will get a different type of access to the Netflix data Google Sheet. Let's go ahead and write the code for this.
data.forEach(function(row,i){
var depart = row[1];
var email = row[0];
if(depart == 'Admin'){
file.addEditor(email)
}
else if(depart == 'HR'){
file.addCommenter(email)
}
else if(depart == 'Software'){
file.addViewer(email)
}
});
Here we are going to open a forEach function to iterate through the employee emails and their respective departments. Using the row[i] we have got the department of the employee followed by their email.
With guidelines provided we have to give Editor access to the Admin department, Commenter access to the HR(Human Resource) department and Viewer access to the Software Department.
The code will iterate through the data in the Google Sheet using the forEach function, if the department is equal to Admin it will give that respective email an Editor access using the addEditor() function.
The same will be done for the Commenter and Viewer access. If the department is equal to HR, it will give that email a Commenter Access and if the department is equal to Software, it will give the email a Viewer Access.
Our code is complete and good to go. To run this code we are going to use a menu that we will build using Google Apps Script. To know more about menus, check out the video link given below.
function onOpen(){
var ui = SpreadsheetApp.getUi();
ui.createMenu("Share Access")
.addItem("Run Code","giveAccess")
.addToUi();
}
This is the code that will create a menu for the giveAccess function inside the Google Sheet. On running the menu code, you should see something like this in your Google Sheet.
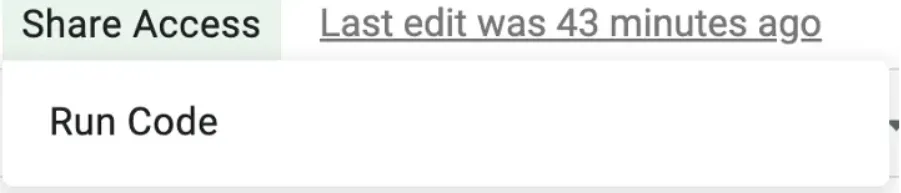
Here the menu has been created, and to run your code all you have to do is click on the Run Code button.
Step2: Check the Output
Our code is complete, everything is ready and good to go. Let's go ahead and see if our code is working.
We are going back to the Google Sheet and click on the menu to run the code.
On running the menu, it shows the message saying Finished Script. Lets go to the respective email and check if it has shared the file with correct access.
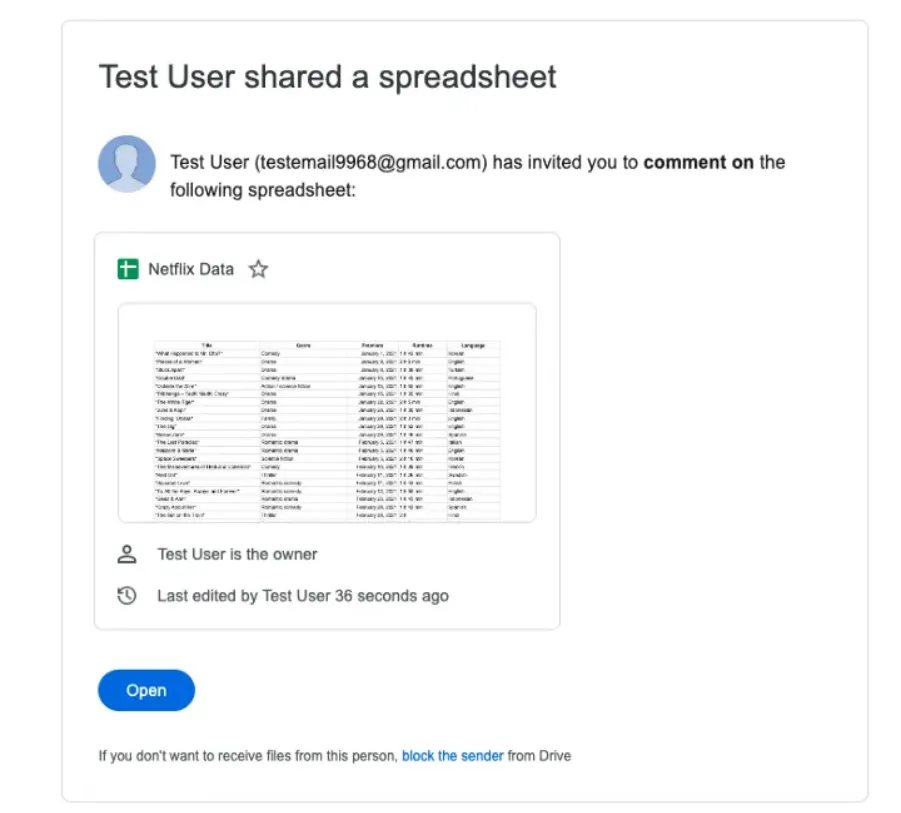
Here you can see, we receive an email saying a file has been shared with you to comment on. When we open the sheet, we can only make comments on the Google Sheet. This means our code has worked successfully.
Conclusion
In this blog we saw how we can use Google Apps Script and the Drive App to bulk share documents with users with different permissions such as Editor, Commenter or Viewer. We hope you have understood the idea and the motive behind this project. You can get the code from the GitHub link given below.
Feel free to reach out if you have any issues/feedback via ChartApps Community or reach out support@chartapps.com to know more