In this blog, we will be learning how to create Google Docs reports from data in Google Sheets using Google Apps Script. We will be using the Google Drive App and the Document App to achieve our goal of creating the reports. To automate this process further, we will be using Triggers in Google Apps Script to automatically run the code and generate the reports.
The test case that we will be using for this blog is as follows:
- We have a Google Sheet that contains product details of the product with the id, product name, and the initial stock.
- We want to create a Google Doc report from the data in the Google Sheet using Google Apps Script.
So let’s get started.
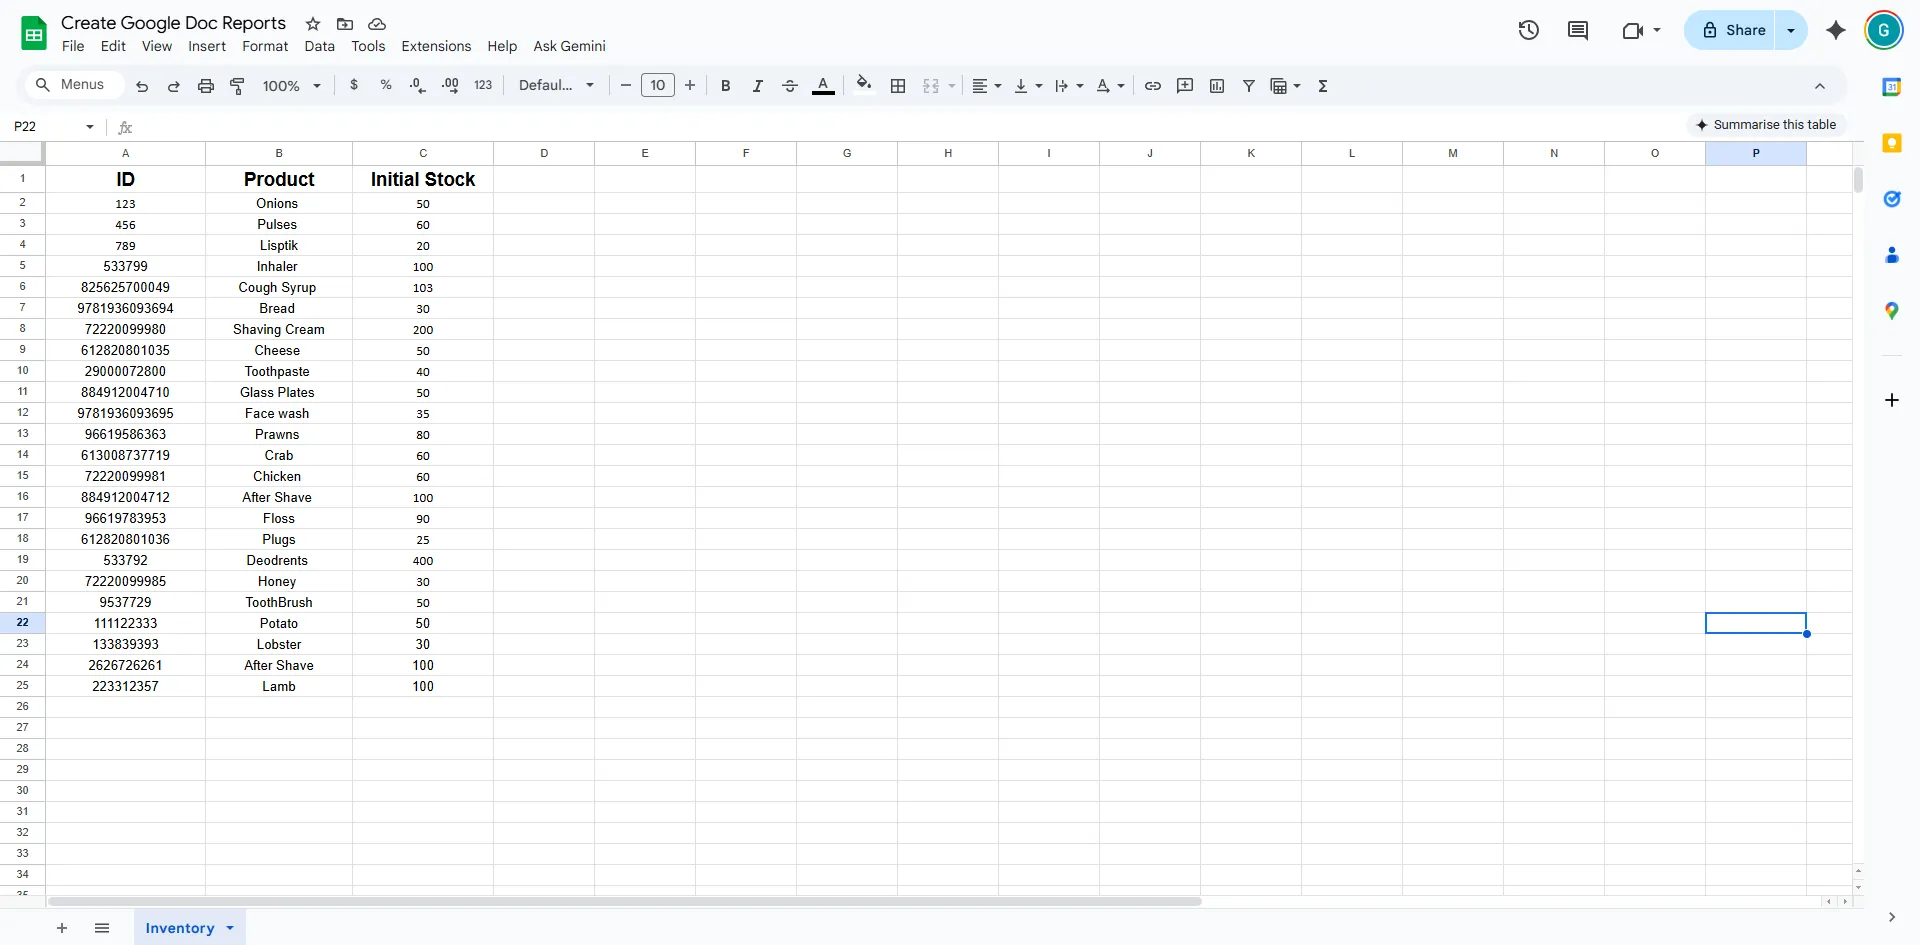
Sample Google Sheet
This sheet contains the product details that look something like this. If you want to work with the sheet, click here to make a copy of Google Doc Reports
Step 1: Write the Automation Script
While you are in the Google Sheet, let’s open up the Script Editor to write some Google Apps Script. To open the Script Editor, follow these steps:
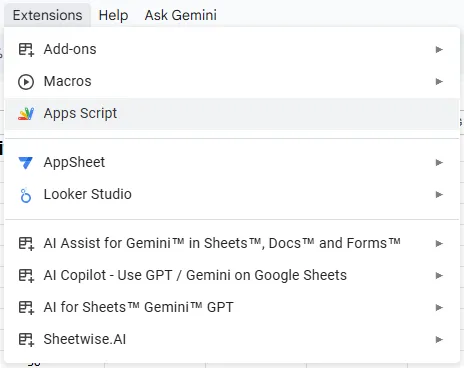
Click on Extensions and open the Script Editor.
1. Click on Extensions and open the Script Editor.
2. This brings up the Script Editor as shown below.
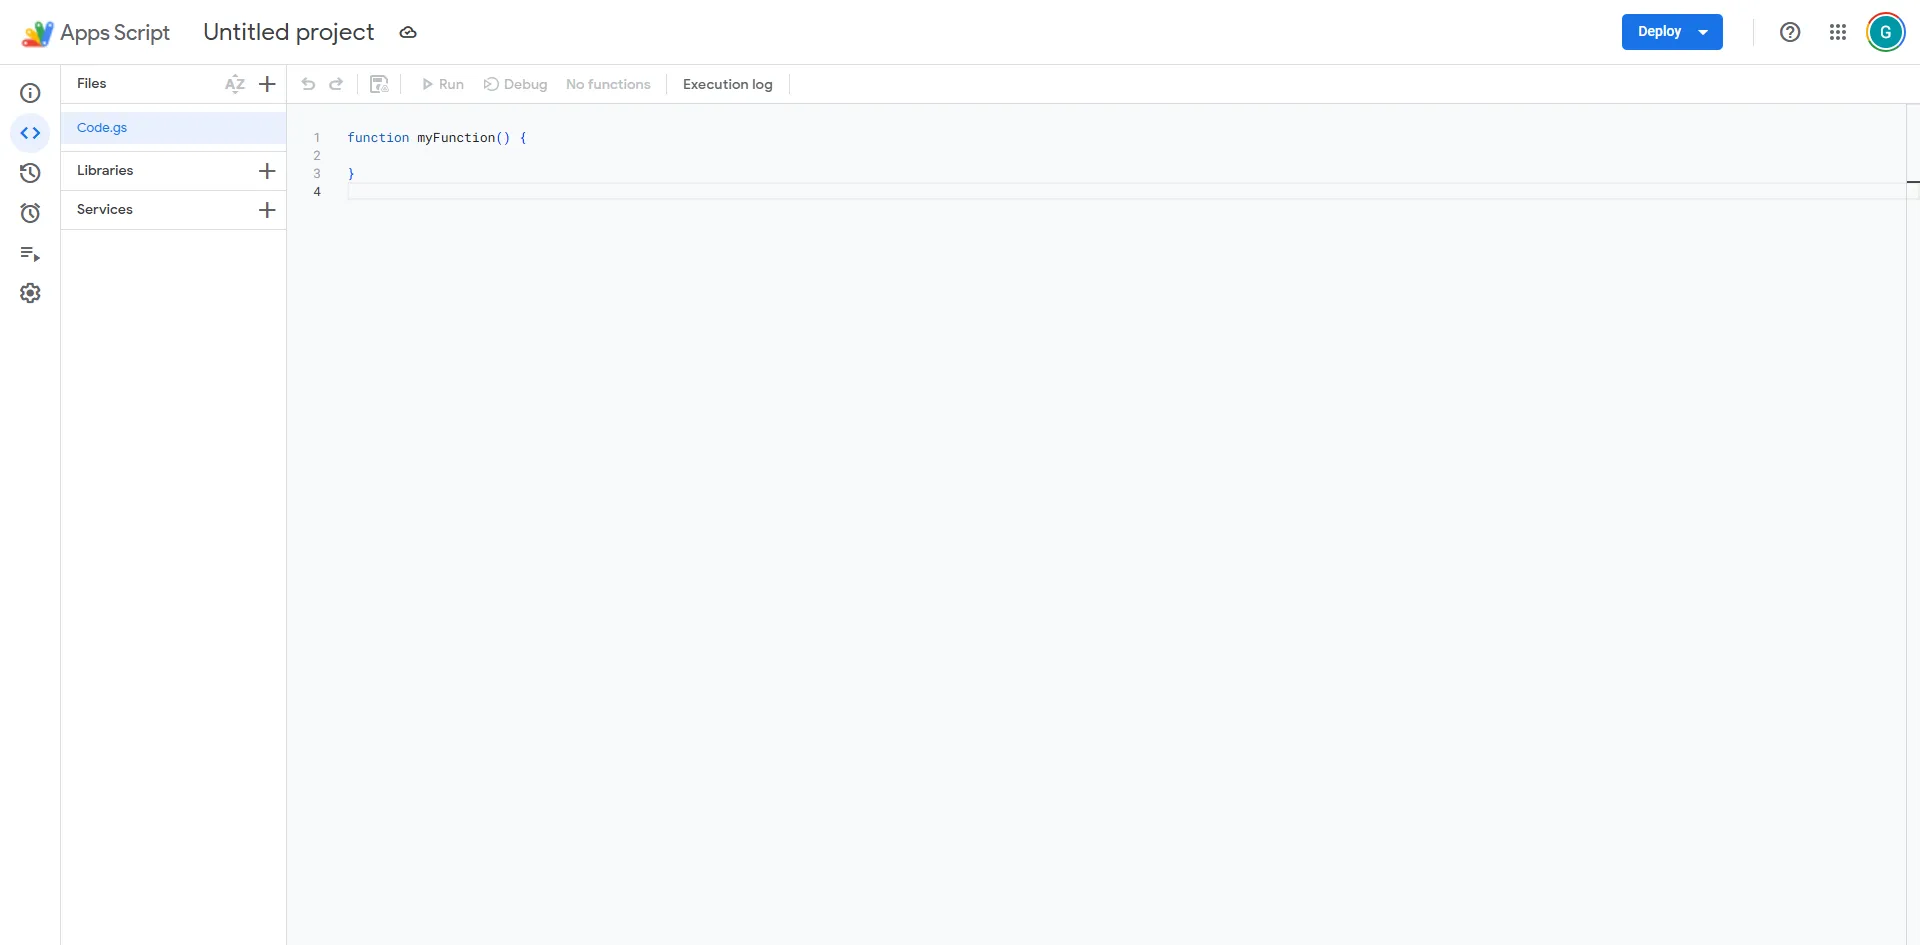
We have reached the script editor, let's code.
function main(){
//Get the Google Sheet and Values
const ss = SpreadsheetApp.getActiveSpreadsheet();
const sheet = ss.getSheetByName("Inventory")
const data = sheet.getDataRange().getValues();
We are going to start off by creating a new function main(), inside which we will be accessing the Google Sheet using the SpreadsheetApp. After which, we will be getting the sheet by name using the getSheetByName() function, inside which we will be passing the name of the Google Sheet.
Next, we will be getting the data using the getDataRange() function, after which we will be getting the values using the getValues() function.
//Get the Google Drive Folder
const folder_id = "1ZSZO2-jnmJoTYFAtqOyMg7duD-d2koPs";
const folder = DriveApp.getFolderById(folder_id);
Once we create the Google Doc, we want to store it in a particular folder to keep track of the reports generated. We are going to start out by declaring the folder ID. On declaring the Google Drive ID, we are going to get the folder using the getFolderById() function, by passing the folder ID as a parameter.
//Create the Google Doc
const doc = DocumentApp.create("Inventory Report");
const id = doc.getId();
Next, we are going to be creating the Google doc using the DocumentApp.create() function, by passing the name of the file as a parameter. After creating the Google Doc, we will get the ID of the Google Doc using the getId() function.
//Move the Doc to the Folder
var file = DriveApp.getFileById(id);
file.moveTo(folder);
After creating the doc, let's go ahead and transfer the Google Doc to the target folder. To do this, we will first get the file by ID, using the getFileById() function. After this, we will be moving it to the folder using the file.moveTo() function, inside which we will be passing the folder as a parameter.
//Add values to the Google Doc
var body = doc.getBody();
table = body.appendTable(data);
}
After creating the doc and moving it to the target folder, we will be adding the values to the Google Doc. To do this, we will first get the body of the Google Doc using the doc.getBody() function.
On getting the body, we will be appending the table from the sheet into the Google Doc using the appendTable() function, inside which we will be passing the data that we extracted.
Step 2: Add the Trigger
Now that our code is complete, let's go ahead and add the trigger. This trigger will automate the process of you going and manually running the script at the end of the day.
Let's say your inventory gets updated at 6 PM and you have to create a report. This can be done using a trigger. To add a trigger to the script, follow these steps:
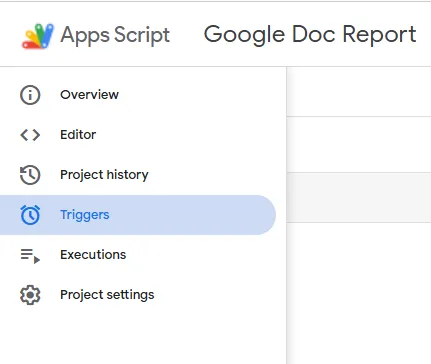
1. Go ahead and click on Triggers.
2. On clicking Triggers, go ahead and click on Add Trigger.

3. On clicking Add Trigger, you have to enter the following details.
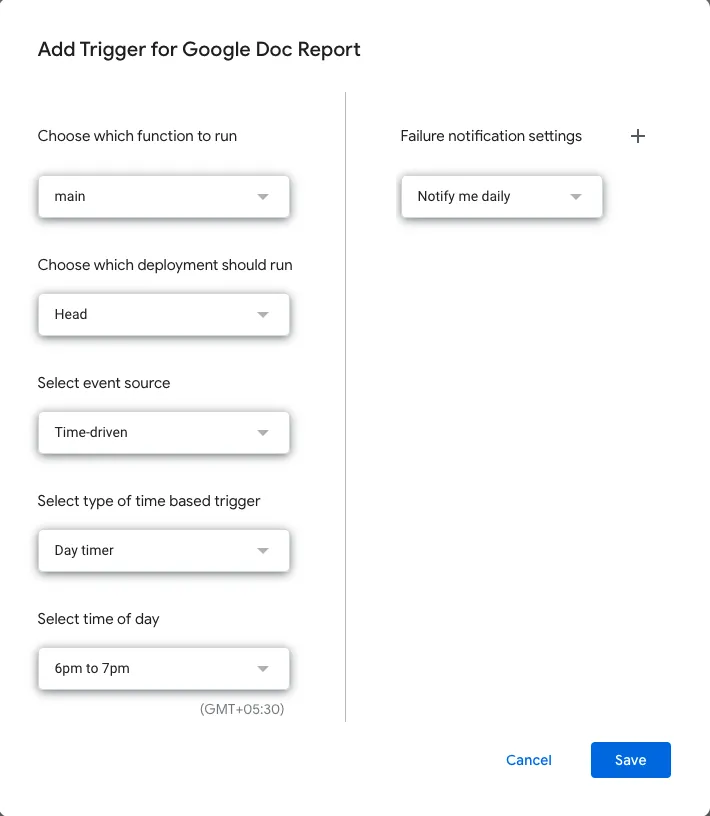
You start out by specifying the function you want the trigger to run. Next, we specify the event source, since we want this code to run on or between specific times, you have to click on Time-driven. Next, we have to specify the type of time-based trigger. For this case, we are going to select a Day Timer. In the end, you specify the time at which you want the trigger to execute the code.
After making the required changes, go ahead and click on Save.
Step 3: Check the Output
Our code is complete and good to go. Let's go ahead and see if our code is working and good to go.
On running the code, it should create a new Google Doc and append the table to it, and transfer it to the target folder.
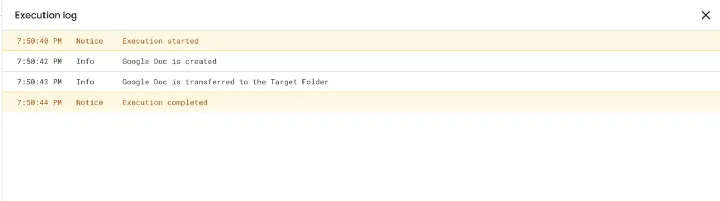
Here you can see that the Google Doc has been created and then transferred to the Target folder.
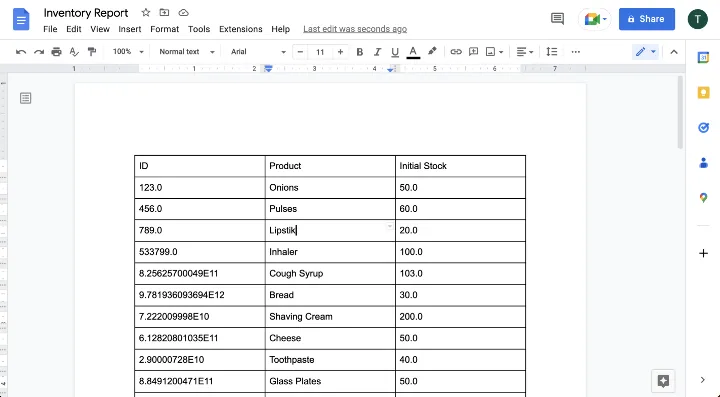
On opening the Google Doc, you can see that the table has been appended successfully.
Conclusion
In this blog, we saw how we can create a Google Doc report from data in Google Sheets using Google Apps Script. You can use this to create reports from data in Google Sheets, maybe weekly or even daily, if your data in the Google Sheet constantly changes.
You can get the code from the GitHub link below.
Feel free to reach out if you have any issues/feedback via ChartApps Community.